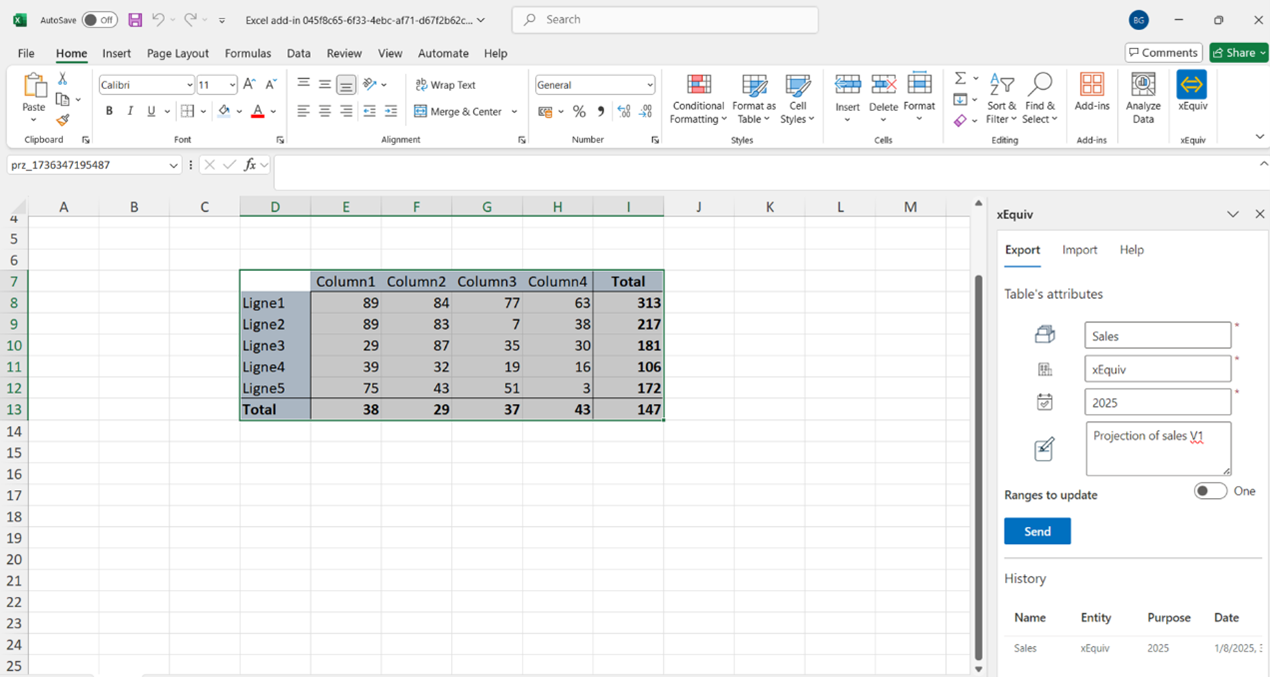
STEP 1: From your workbook, we’ll send a table to the Library
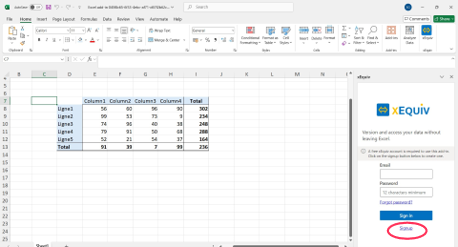
Check your spams in your mail box if you've not received the mail to validate your user account.
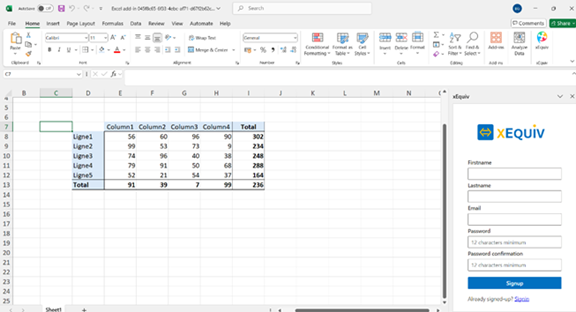
Once your registration validated, you can start with xEquiv.
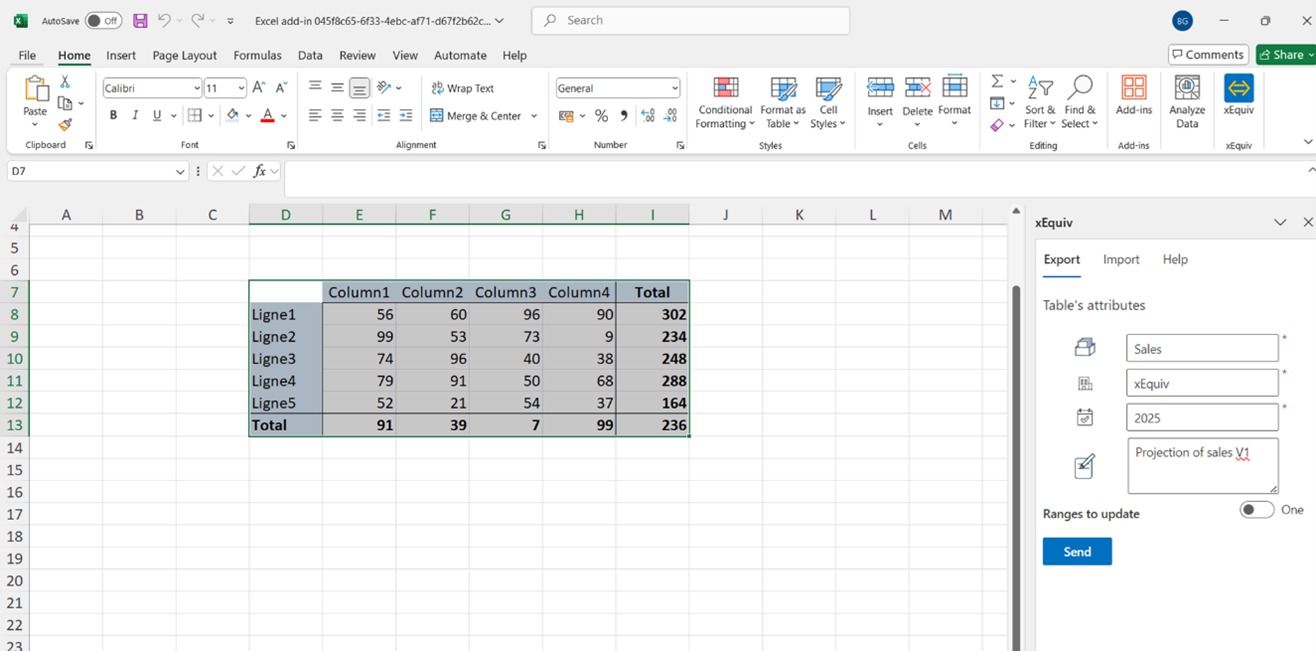
Then press the send button
You should see the message: “The table was successfully exported”
You can create different versions, just change the comment (and not the fields) to distinguish the versions
And an history of tables sent appears.
Step 2: Open another workbook to import the table
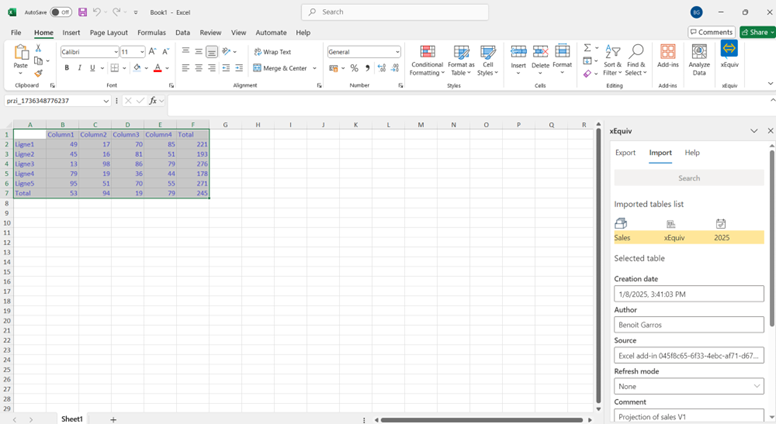
2.0 activate xEquiv Panel (press the xEqui icon in the menu)
2.1 Select the import tab in the panel
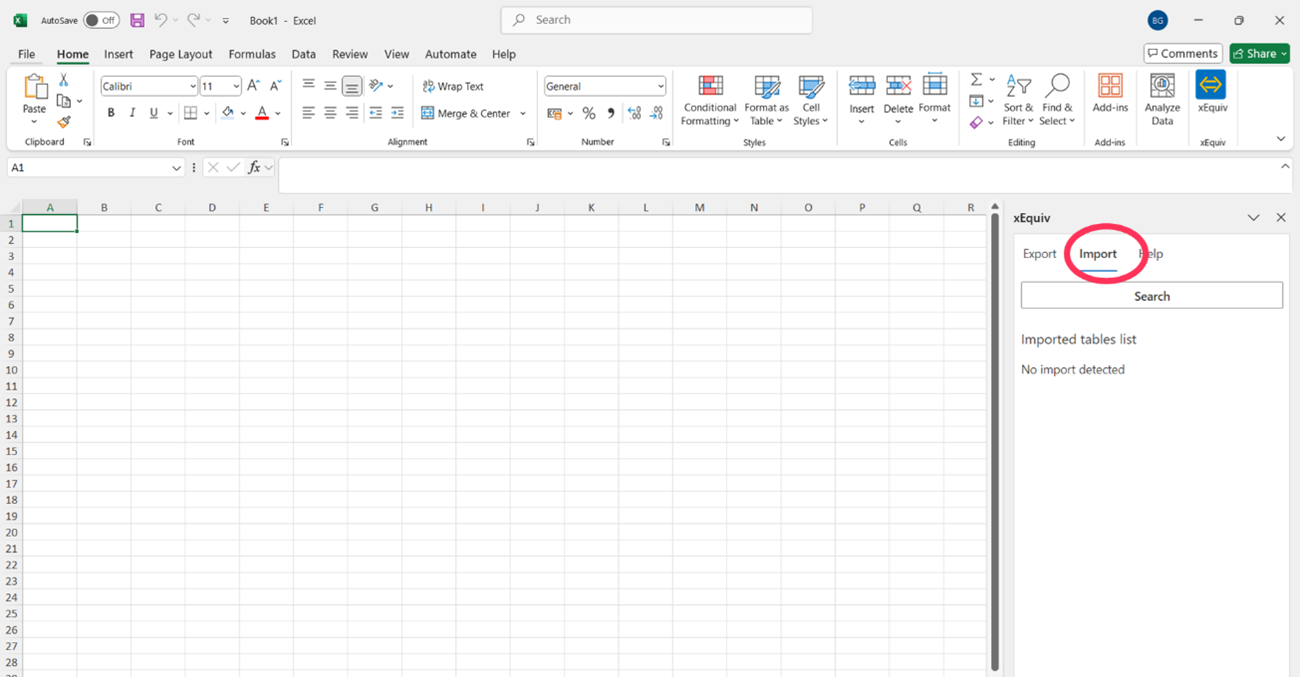
2.2 Press the Search button to activate the search grid in Excel

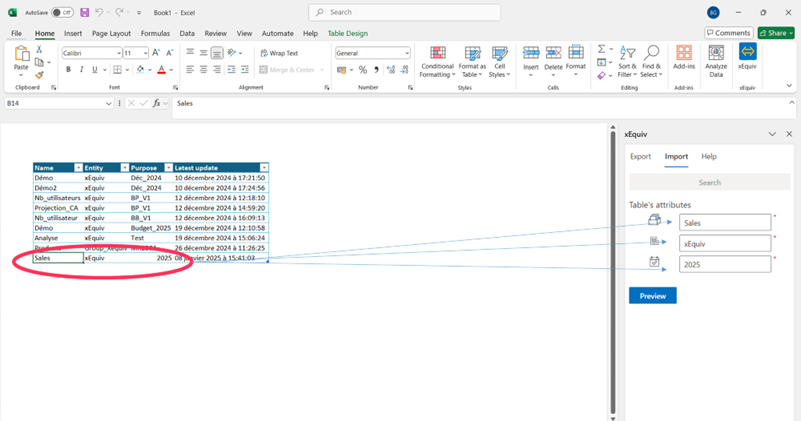
2.3 Select in the grid the table you’ve created, and the tab will be filled in and then press the Preview button.
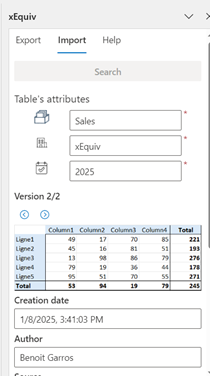
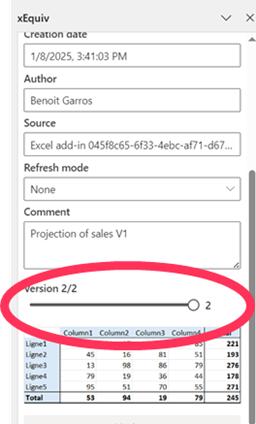
2.4 Navigate through the versions of the table that have been created
 |
|
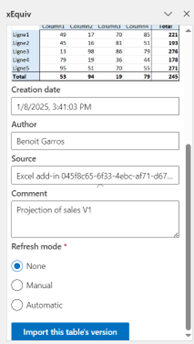 |
Select the version of the table you want and the refresh mode you need
And the press the button “Import this table’s version”
2.5 Then the table you’ve selected is loaded in your import workbook
All the information about the table version is in the panel
2.6 You can change the version of the table if necessary
 |
|
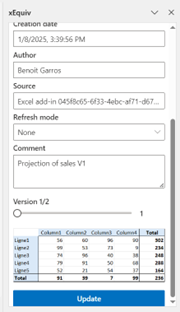 |
Press the Update button if you need to change the version of the table